The question came to me in the summer of 2008: Could I build a custom case for displaying fossils? I knew by the requester's brief description that this would be a monumental task, but I agreed to do it, although I did not give a completion date.
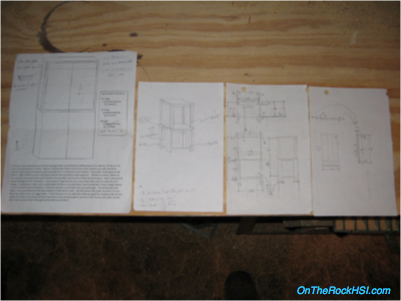
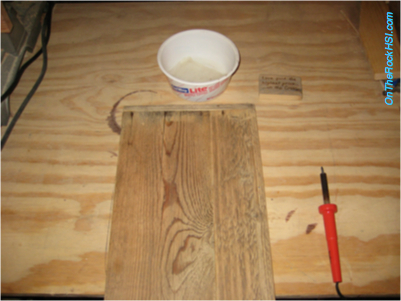
Below is the original request (the larger sheet on the left), along with my sketched plans, which were modified and expanded over the course of the project.
Below is the original request (the larger sheet on the left), along with my sketched plans, which were modified and expanded over the course of the project.
Here's the other two crates.
Most of the wood for this project came from a fence on the north side of Lake Cook Road just east of Ela Road I'd been eyeing for 3 years prior to securing it. On that hot summer day it was being replaced, I happened to be driving by, stopped, and asked permission to take some of the old fence. If it hadn't been so hot, I would have grabbed more, because this was high quality reclaimed wood full of character waiting to be revealed.
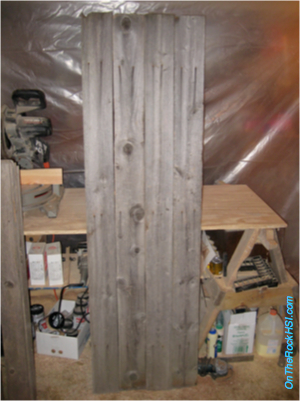
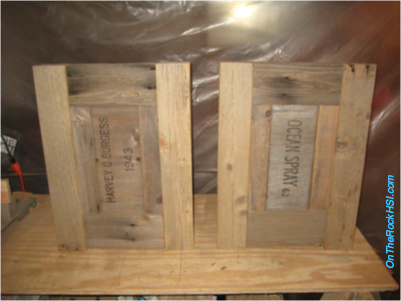
Here is the back of the cabinet lined up raw.
Here is the back of the cabinet lined up raw.
Almost 2 years after the initial request, it was done. It took 265.5 hours to complete it, not counting transportation and instruction on care and usage. The cost for materials alone was $965....
....But it is nice!
....But it is nice!
The next shot shows part of the shop and some of the reclaimed wood stock used for this project. Actually, wood from 4 different fences, 2 wine crates, an Ocean Spray crate, and a single piece of 2x3 driftwood from the Fox River went into this display cabinet.
Here is one of the wine crates being disassembled. The section I'm holding would become part of one of the doors. Incidentally, this particular crate was the only wood that wasn't "greyed" by the elements before I found it in a crawlspace in Highland Park. I weathered it for 5 years outside, turning it regularly, to give it that aged look.
Here is one of the wine crates being disassembled. The section I'm holding would become part of one of the doors. Incidentally, this particular crate was the only wood that wasn't "greyed" by the elements before I found it in a crawlspace in Highland Park. I weathered it for 5 years outside, turning it regularly, to give it that aged look.

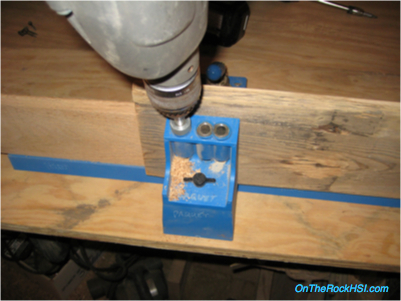
This is one of the pocket hole jigs used to join the pieces.
Although there is glue holding some of the cabinet together, there is no glue joining the back.
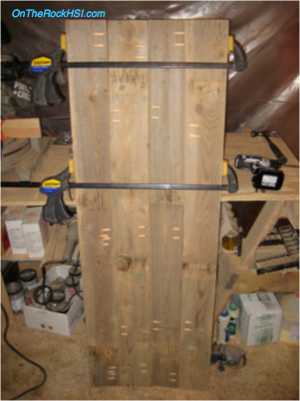
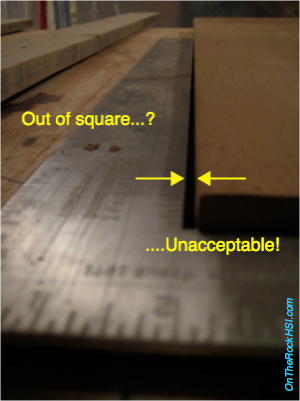
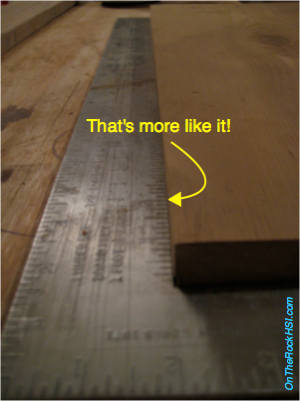
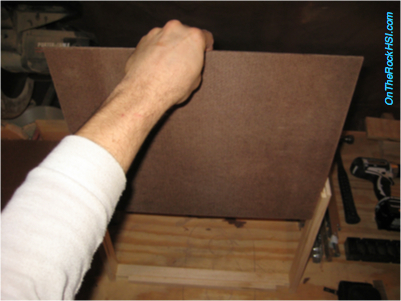
Weathered rough sawn lumber, though perfect in beauty, is dimensionally imperfect. Countering those imperfections by squaring, flattening, scribing, and straightening was constant throughout this endeavor.
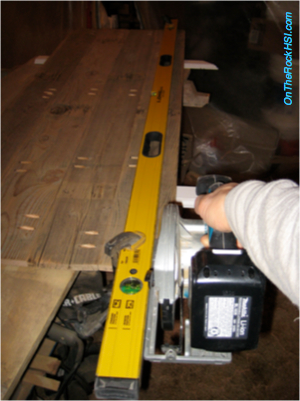
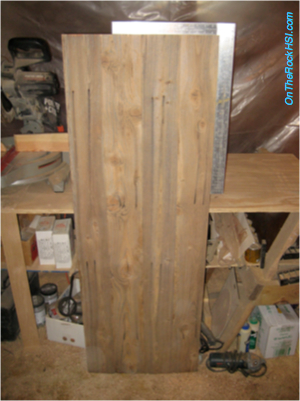
At this point, the back is ready to be used.
Nearly every piece of wood was dimensionally improved in some way involving cutting, yet all visible surfaces consist only of naturally distressed wood. No cut sides or pocket holes are exposed.
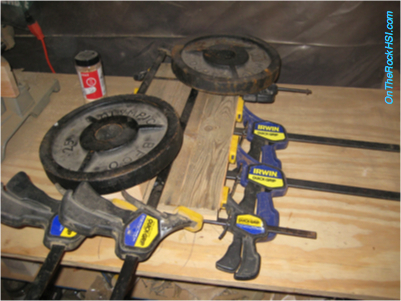
Here is one of many instances demonstrating how another imperfection, warping, was overcome. This is a door being glued up, and it must be flat.
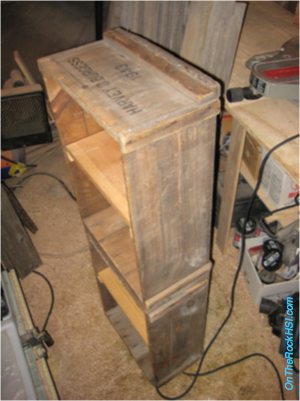
The two sides of the base portion of the cabinet. Check out the vintages....
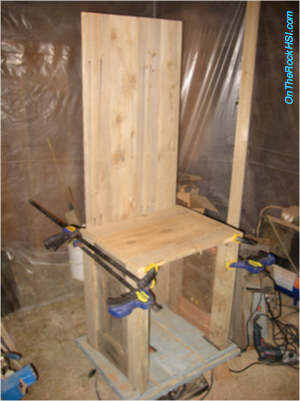
Visualizing the final product may be difficult in the middle of the project, especially when the thing looks like some kind of a throne....
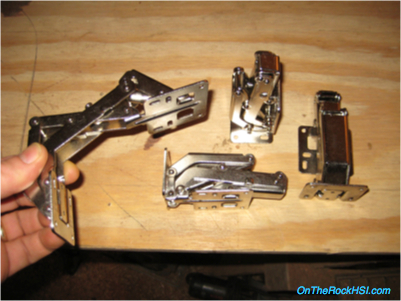
Next, a sneak peek at the hinges. Without these particular hinges, the whole cabinet would not have been made. For maximum efficiency of space, I wanted the cabinet doors to be inset with no face frames, but that meant that the doors had to clear the carcass sides completely so the rollout drawers could roll out. A picture later on will make that clear.
Well, I ended up finding out about these hinges in a thread on ContractorTalk.com - seems a member needed the same hinge for a similar application....
Well, I ended up finding out about these hinges in a thread on ContractorTalk.com - seems a member needed the same hinge for a similar application....
And speaking of drawers, even the drawer boxes were custom built.
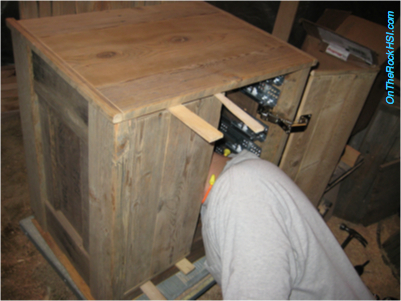
Now, installing the doors. Notice behind me the drawer slides are already installed, which, by the way, are Blumotion Slides.
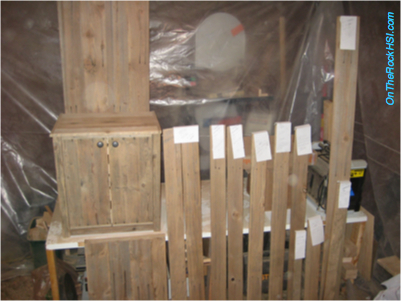
With the base portion of the cabinet done, it was time to work on the upper glass display section. Because of the limited amount of material on hand, the restriction of only naturally distressed wood being exposed, and my desire to visually balance all figure, knots, and stains on each piece, I had to carefully select and designate every piece from my supply at the point between putting my ideas on paper and cutting the first piece of wood. I was forced to do this to ensure that I would have enough of the right material to finish the project, and that is why, if you noticed, my initial sketches were not followed - I had to change the plans even before the first cut to accommodate the kind of wood available.
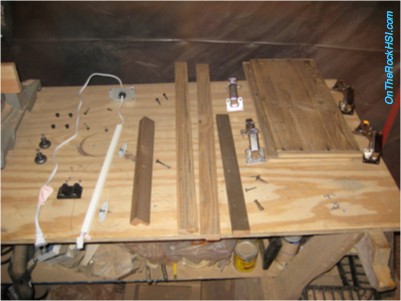
These component parts below are not already cut to length. Rather, those slips of paper are notes telling me which piece (and sometimes, pieces) was to come from which stock board. It was in this section of the cabinet's construction that I made two false cuts and had to change the plans slightly.
These component parts below are not already cut to length. Rather, those slips of paper are notes telling me which piece (and sometimes, pieces) was to come from which stock board. It was in this section of the cabinet's construction that I made two false cuts and had to change the plans slightly.
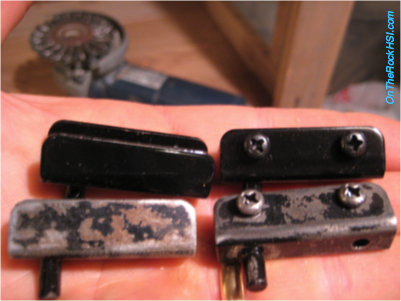
Some of the hardware was painted black at the factory - unacceptable - it looked too new. Therefore, it had to be manually distressed with an angle grinder and a wire wheel.
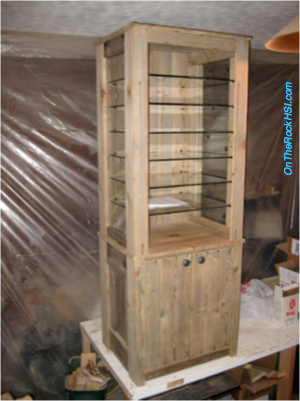
Hundreds of pictures and eight videos were shot during this project, so by comparison, this is a short rendition of what actually had to happen to get this thing done. Below you can see we're getting close....
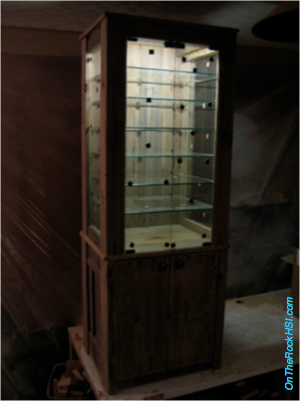
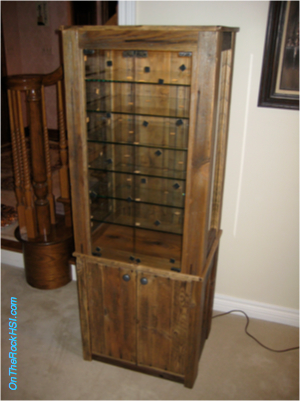
And, yes, it has a light in it....
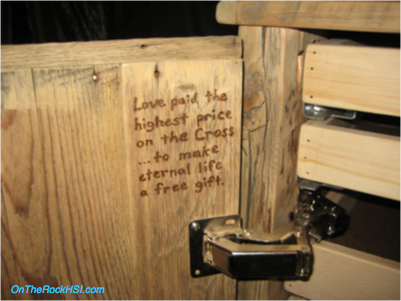
Most artists sign their work, but...
...in lieu of a signature....
The whole cabinet had to be fully assembled to make sure it fit and worked properly, then all the hardware and about 35 pounds of glass had to be removed to spray the cabinet. After spraying, the entire thing had to be reassembled. The next two pictures show all the hardware.

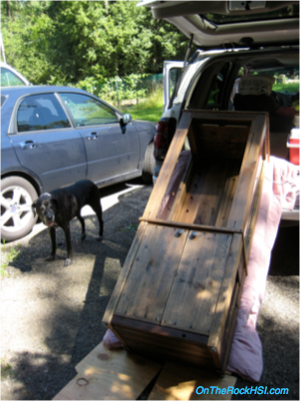
Transporting the cabinet. My trusty assistant supervised.
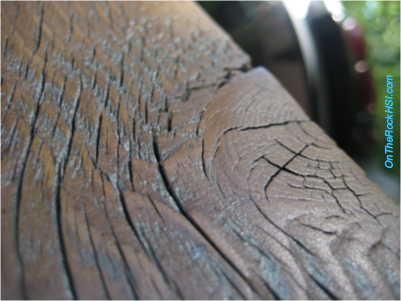
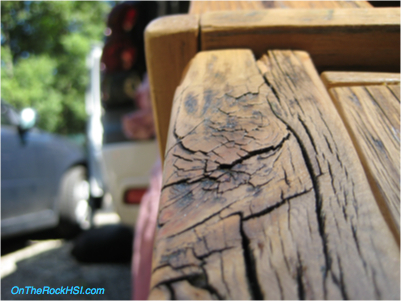
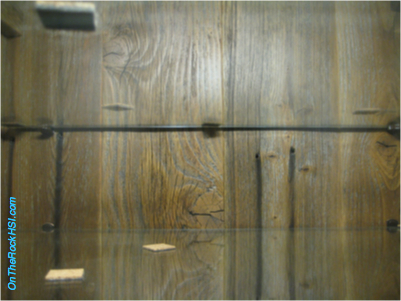
Couldn't pass up the opportunity to get a couple close-up shots of the reclaimed wood....Look at that character!
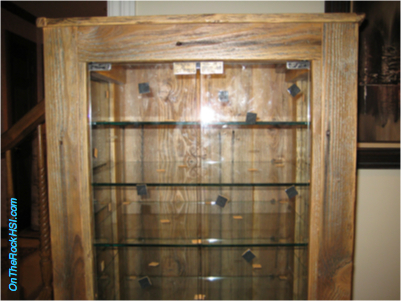
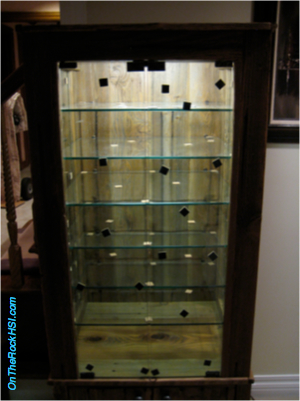
The remaining pictures are all of the finished product. In case you are wondering, the little dark squares on the glass are cork pads to protect the glass during transportation.
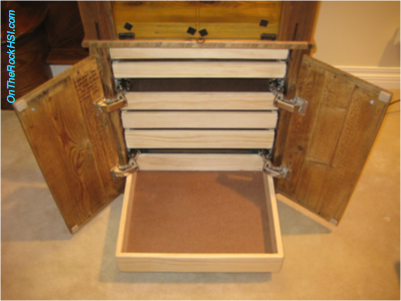
As promised, now you can see how the inset doors have to absolutely clear the plane of the carcass sides so that the rollouts can roll out. Those Blum Tandem Slides with Blumotion are sweet....
As promised, now you can see how the inset doors have to absolutely clear the plane of the carcass sides so that the rollouts can roll out. Those Blum Tandem Slides with Blumotion are sweet....

Somehow, I managed to take no pictures of the cabinet with the top glass doors open. Maybe I'll get to do that later...when it is displaying fossils.