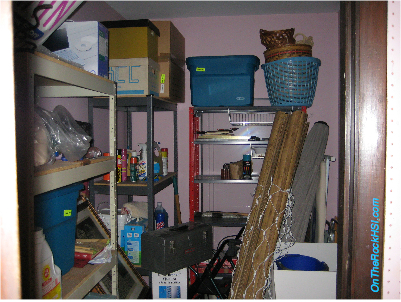

Since it was off the garage and it was a conditioned space, this room was not just a regular ol' storage room, though it was clearly being used as such until the homeowner came up with an idea for putting it to specialized use.
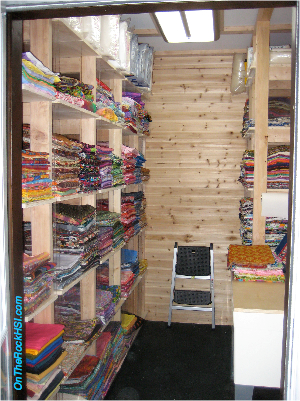
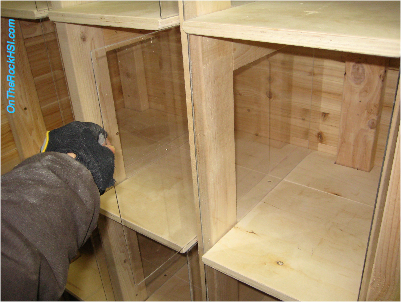
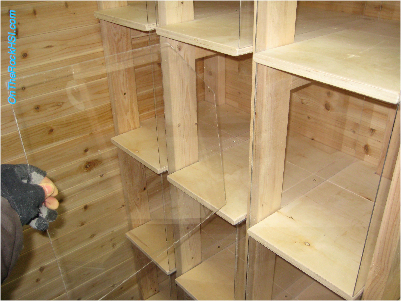
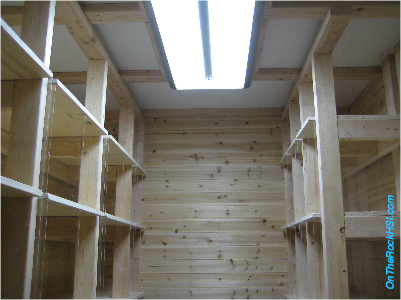
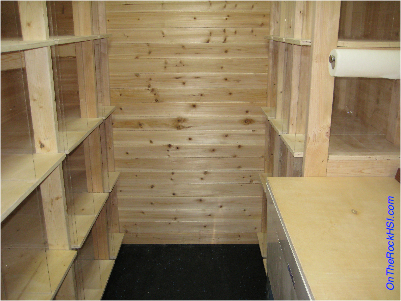
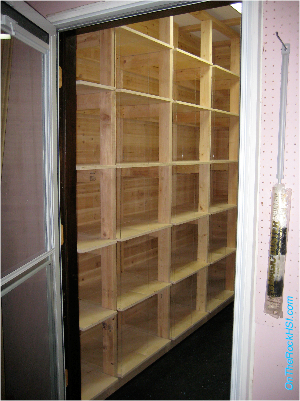
The homeowner, a professional quiltmaker, visualized very well the original concept of a fabric storage room to cleanly store and organize nearly 2000 pounds of fabric, but the design (which worked around many constraints) eventually wound up being a collaborative effort. The end product has cedar tongue and groove walls, solid 2x4 structural support floor-to-ceiling, removable 3/4" cabinet grade plywood shelves, and incredibly tough removable acrylic dividers, among other things. All corners and surfaces have been sanded smooth for splinter-free, snag-free use.
Everything in this room except the drywall, light switch, and receptacle is new or moved.
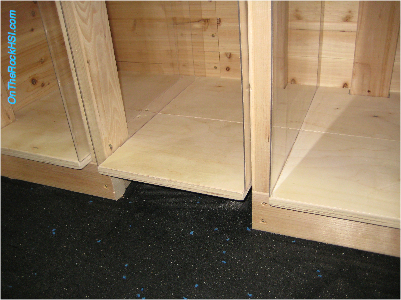
Building one of the two shelving units over the only vent supplying the space demanded some attention if the fabric was to be surrounded by the best possible ambient conditions. If you dumped the supply into a hollowed out base with a hole in the toekick (like many contractors do in kitchens and baths to save time), you would guarantee greater differences in daily and seasonal peak to peak room temperatures (and therefore, relative humidities which could result in undesirable moisture levels). So, to stabilize and optimize ambient conditions, I constructed a wood "duct" (integrated with the structural supports due to their proximity) to deliver supply air straight to the room with minimal static pressure drop across the base, which you can barely see in this next picture. Here you can also see the new wall to wall interlocking recycled rubber mat floor.
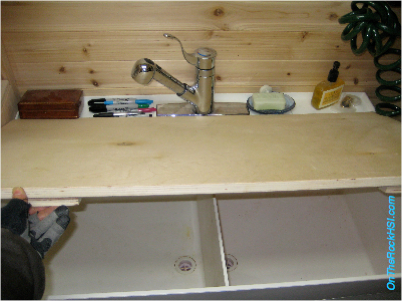
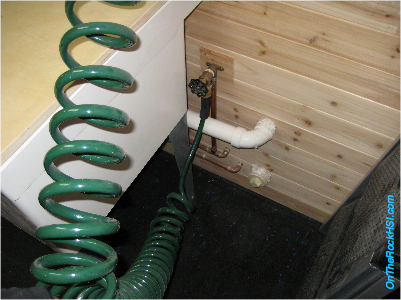
The sink, and therefore the copper supplies and PVC drain, had to be moved.
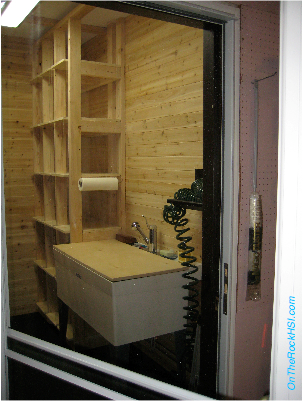
The homeowner wanted the versatility of being able to turn the utility sink into a work surface.
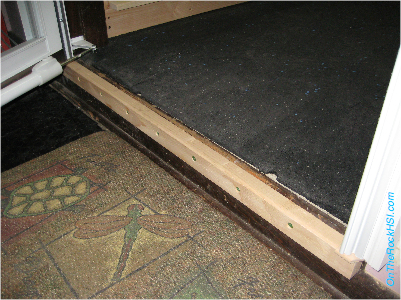
Removing the existing exterior door and installing the storm door required some extra time, because the storm door had to go on the same side of the jamb as the old door, something storm door manufacturers do not build their doors to do! Plus, I had to get the storm door to clear the garage door track when the storm door was opened past about 75˚, which basically was every time you opened the thing. Also, with the brickmold on the "wrong" side of the door, I had to extend the threshold to seal the opening....
The final product looks and feels great!!!